Why do I need to use the LoadView Onsite Proxy Agent?
Sometimes, it’s necessary to test a website that is not accessible from the public Internet. LoadView provides two options to do this.
First, you can whitelist LoadView Static Proxy IPs to allow traffic from LoadView in a company network. Although it is a simple way to implement load testing behind a firewall, it may be inappropriate to open the company’s firewall because of security reasons.
If whitelisting of the Static Proxy IP range is not allowed by your security policies, we provide another secure option: load testing from within your local network with LoadView Onsite Proxy Agent. The Onsite Proxy Agent app can be installed on a dedicated Windows Server or desktop inside the same network as the target website.
Using the Onsite Proxy Agent shouldn’t require you to open your firewall for incoming traffic.
How it works
Once the Onsite Proxy Agent has been configured, it sends outgoing requests to Dotcom-Monitor Service to check if any load tests were started for the corresponding target website and the load test configuration. Once the test configuration has been received by the Onsite Proxy Agent, it initiates multiple connections to Load Injector Servers (LIs) from within the local network using port 443. LIs use the same connections to send load testing data to Onsite Proxy Agent. Thus, all load testing traffic to the target will be sent via the Onsite Proxy Agent from the company network.
The Onsite Proxy Agents can be installed and used to execute HTTP, web application, and web page tests.
Load Capacity
Onsite Proxy Agent capacity is limited by two factors: the number of virtual users and the number of load tests per Onsite Proxy Agent.
The Onsite Proxy Agent can run a maximum of 3 load tests at a time, regardless of the type of the load tests.
The limitation on the number of virtual users per LoadView Onsite Proxy Agent highly depends on the website’s behavior. For example, dynamic web pages that use a lot of third-party JavaScript will require more resources for the test.
Generally, the Onsite Proxy Agent limitations for an average website are:
- Browser-based test: 50 virtual users per agent
- HTTP-based test: 1000 virtual users per agent
Let’s say you need to simulate 100 virtual users on the target website, then you need to leverage at least two Onsite Agents for the test.
System Requirements
This guideline walks you through all steps required to prepare the installation, execute the setup, and configure your test scenario to use the LoadView Onsite Proxy Agent. For troubleshooting, see Onsite Proxy Agent and On-Prem Load Injector Troubleshooting.
Hardware requirements:
- 2-core CPU or higher
- 8 GB RAM
- 1 GB Hard Drive space
- OS Windows 10 or higher, Windows Server 2012 or higher x 64bit
Software prerequisites:
- Administrative Access for installation and execution
- Chrome (latest release) or Edge (latest release) for Onsite Proxy Agent registration only
Please note that LoadView does not require any inbound connection to the servers that run Onsite Proxy Agent.
Outgoing traffic requirements:
Because of the dynamic nature of the IP addresses of our Load Injector Servers, Onsite Proxy Agent must have an outgoing connection to all URLs. If it is not an option, you can open an outgoing connection to the specific cloud region that will be used in load testing and specific addresses crucial for Onsite Proxy Agent operation.
- For connection to the specific cloud region
Please check the AWS and Azure online resources for an IP range of the required cloud region.
- For LoadView Onsite Proxy Agent operation
Depending on your firewall, use either of the options listed below.
| IP Range (Recommended) | Host | URL |
| 8.29.56.0/23 |
|
|
To allow the app to download additional required components, please make sure to whitelist the following host:
d11evr0n7mmusc.cloudfront.net
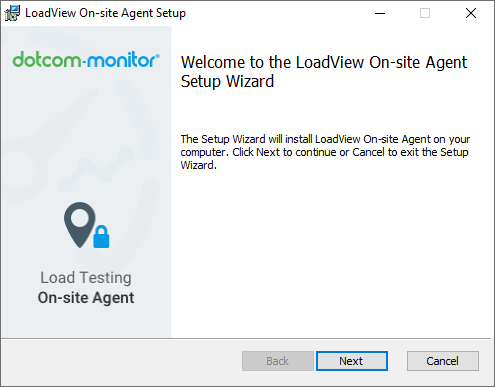
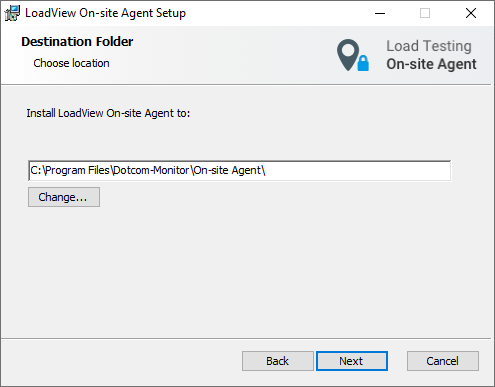
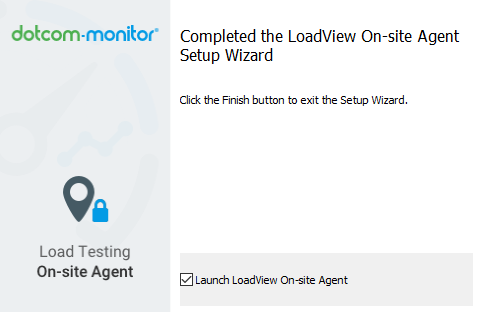
Installation Using The Setup Wizard
-
Preparation of your LoadView Onsite Proxy Agent Installation
-
Install LoadView Onsite Proxy Agent on your Server
-
Proxy Settings


